We pulled up the old sod and laid down new sod. See how we did it.
Read the Tips
- Before digging in your yard with power equipment, call your utility company to locate and mark underground lines.
- Regional factors such as soil type (sandy or clay-like) and conditions (shade levels and moisture content) determine the type of sod to use and the proper process to employ. The soil type of the Disaster House is clay-like and snow is likely in the winter months. To determine the best plan for your lawn, check with your local garden center, sod producer or university extension program.
- Some soil yards or garden centers gladly accept old soil/turf. Call around!
- The prep used for sod laying is exactly the same as prepping for seeding.
- Healthy grass lawns choke out weed growth. If maintained properly, herbicides and harmful chemicals won’t be necessary.
STEP 1 - Remove the Old Sod
If your lawn is really small, shovels and a mattock may do the trick. Otherwise, rent a sod-cutter to shave off the top grass evenly and a rototiller to create optimum soil.
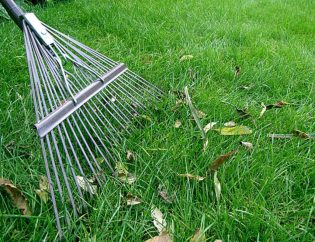
Get rid of the old turf debris. Use shovels and garden rakes to remove what the sod-cutter can’t reach. Hopefully, the old turf rolls up but may have to come out in chunks. Use a wheelbarrow to haul it out of your way.
Do not simply till old turf in with the underlying soil. This can lead to a number of future lawn problems such as fungus growth and it makes it harder to grade the soil.
STEP 2 - Add New Soil and Grade
Level the exposed soil using rakes. If the soil is very uneven, consider backfilling low areas and leveling the area with a water drum roller. Once the area is level, add amendments in the form of compost. Cattle or dairy-based compost is preferred to deliver proper nutrients. Evenly spread about 1/4” thick over the graded soil. Avoid leaving big piles of compost. Use the rototiller to combine the soil and compost to get a healthy mix. Go to a depth of four to six inches.
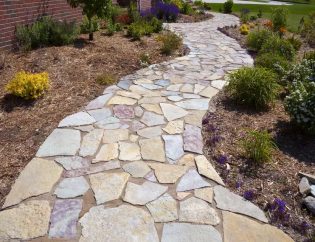
Use the garden rake to grade the soil. Comb out any rocks, clods, and debris. Try to grade soil about one inch lower than surrounding concrete driveways, sidewalks, and landscape edging so that the installed sod will be flush when installed.
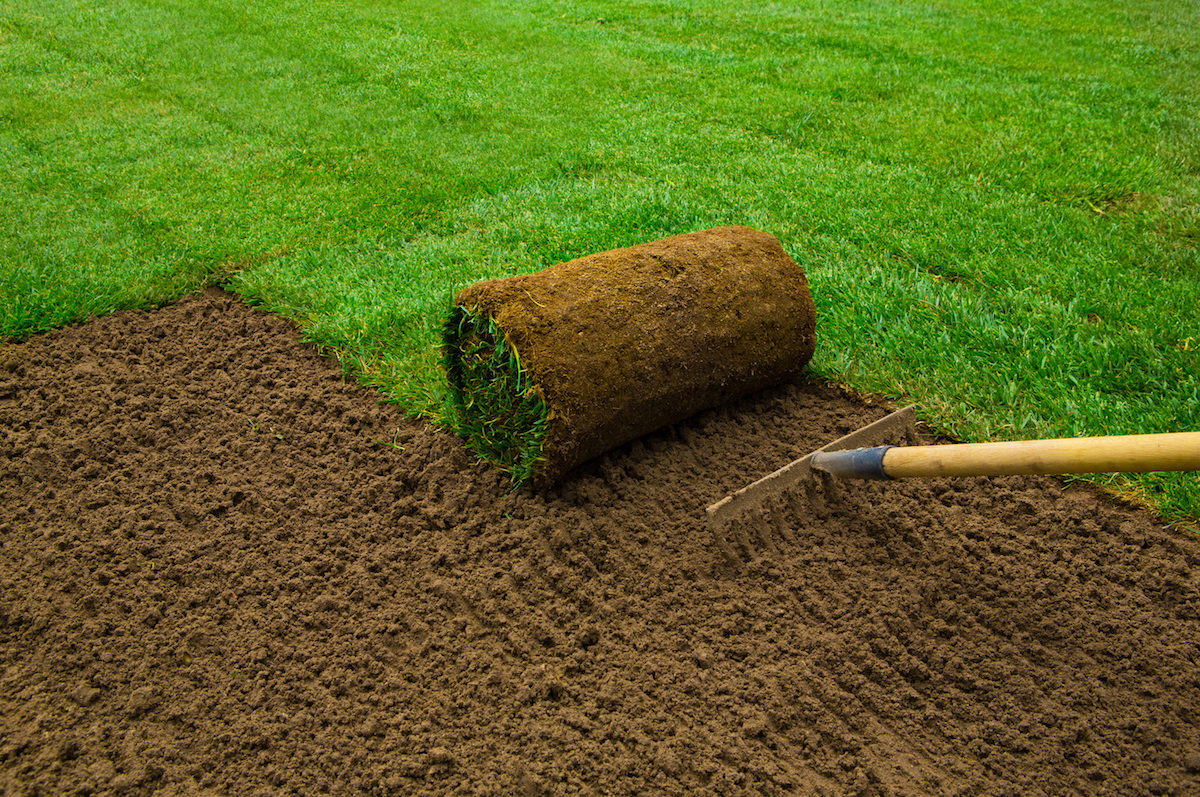
STEP 3 - Lay the First Row of New Sod
Now you’re ready to lay sod. Rake out your own footprints as you go and avoid standing on fresh sod. Start with the border edges that run against concrete or landscaping. Make sure to tuck the edges tightly.
STEP 4 - Determine the Direction
With the perimeter sod in place, determine the direction to roll the interior sod by identifying the...